This guide explains how to copy protect content on DVD-Rs.
“Content” refers to files such as the following:
In the following we’ll refer to these files simply as “Content”.
Note: If you want to copy protect software (executables, apps) instead of content, you need to use ProtectBURN Software.
ProtectUSB Content supports the following copy protection methods:
With media verification the content is encrypted and bound to the presence of the media.
This means the content is presented directly from the media (no installation to hard disk) and it can only be accessed while the copy protected media is inserted. An internet connection is not required.
With this methods the content is not bound to a particular USB stick. Instead, the usage is controlled by an UnlockCode which needs to be entered when the content is accessed and which triggers the binding of the content to a particular user account (email/password).
The UnlockCode option is more flexible because it allows the installation of the content to one or more devices and does NOT require the presence of a media. The UnlockCode defines on how many computers the content can be authorized as well as other limitations (e.g. expiration of the content after a certain time).
UnlockCodes are created on the Protect Software web site. An internet connection is required at the time of the first access to allow validation of the UnlockCode. Once the code has been validated, no internet connection is required.
Requirements
To use ProtectBURN Content the following is required:
The workflow of creating a protected DVD-R with content is very simple. However, it is important to understand which steps are required and how the licenses (or missing licenses) influence the resulting DVD-Rs.
In the first step the content to be protected needs to be prepared. The starting point is to have a unique ProjectID per content which identifies the content and is used to mark the protected DVD. This mark cannot be copied and ensures this way, that a copy doesn’t work and only the correct protected DVD validates the correct corresponding content.
The result of the content preparation is a new file set which does not allow access to the original files unless the correct protected DVD-R is in the drive or it has been unlocked by using Rescue Codes.
In this step you use the file set created in the first step to create an ISO image which is later protected and burned. Before you create the ISO image, you might want to add additional files such as “readme.txt” (or anything else you think should go on the DVD) by placing these files in the root of the file set created in the fist step.
In this step you create a protected ISO image from the ISO image created in the previous step. Here is also where you define the name for the DVD.
You can use this option to burn the protected ISO. This program uses ImgBurn and will trigger the installation of ImgBurn if it is not already installed on your computer.
Note: Alternatively the protected ISO image can be burned with any burning software as long as ProtectBURN is running on the computer which does the burn.
Depending on the availability of burn licenses, the DVDs will be burned in DEMO mode with warning message or as regular copy protected DVDs. Please see the table below for details.
| License availability / Configuration | ProtectBURN installed / Burn licenses available | ProtectBURN installed / No burn licences available | ProtectBURN not installed |
| Resulting DVD | Successful burn of DVD with copy protection | Successful burn of DVD with warning message | Broken DVD |
The warning message which is shown when a DVD is burned without a burn license looks as follows and will disappear within 30 seconds.
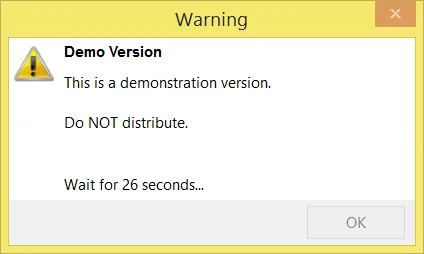
To burn without the warning screen, you need to purchase licenses.
You can purchase burn licenses from the Protect Software Burn Licenses Web shop. To get there select the “Buy Licenses” option from the Protect BURN Tray Application.
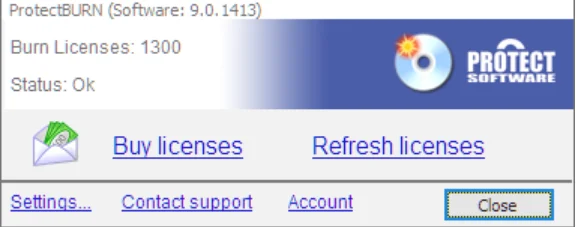
After you select the “Buy Licenses” option, your browser will open and display the web shop for the burn licenses.
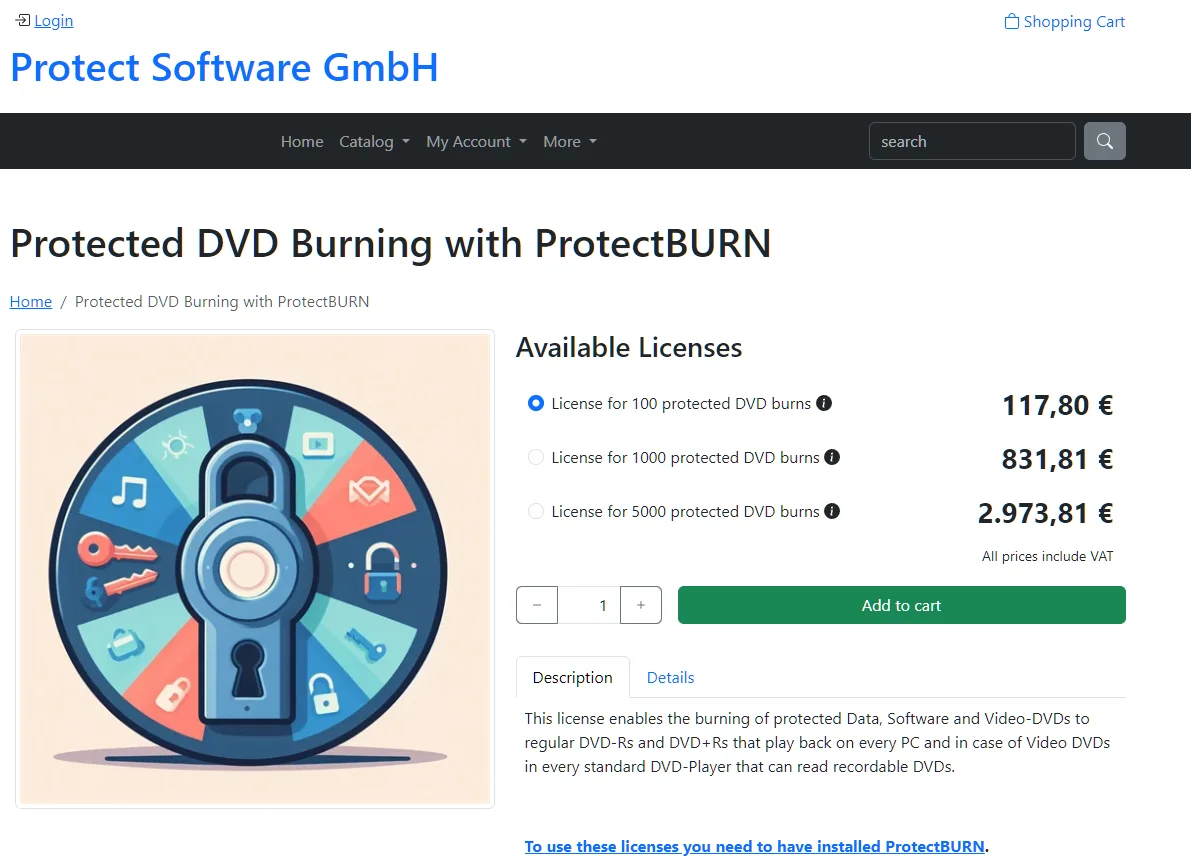
The web shop offers different packages of burn licenses. The higher the number of purchased licenses is, the lower the price per license gets.
After the purchase completes, the licenses are automatically appear in the tray app. Asure you have enter your account data in the login dialog.
Important! One “burn license” is valid for exactly one burn. This is independent of the protected DVD. So, with 10 burn licenses, you can protect 10 DVD-Rs of one title or you can also use them for 10 different titles with one protected DVD-R each.
After you select “Prepare content” you get to the following window.
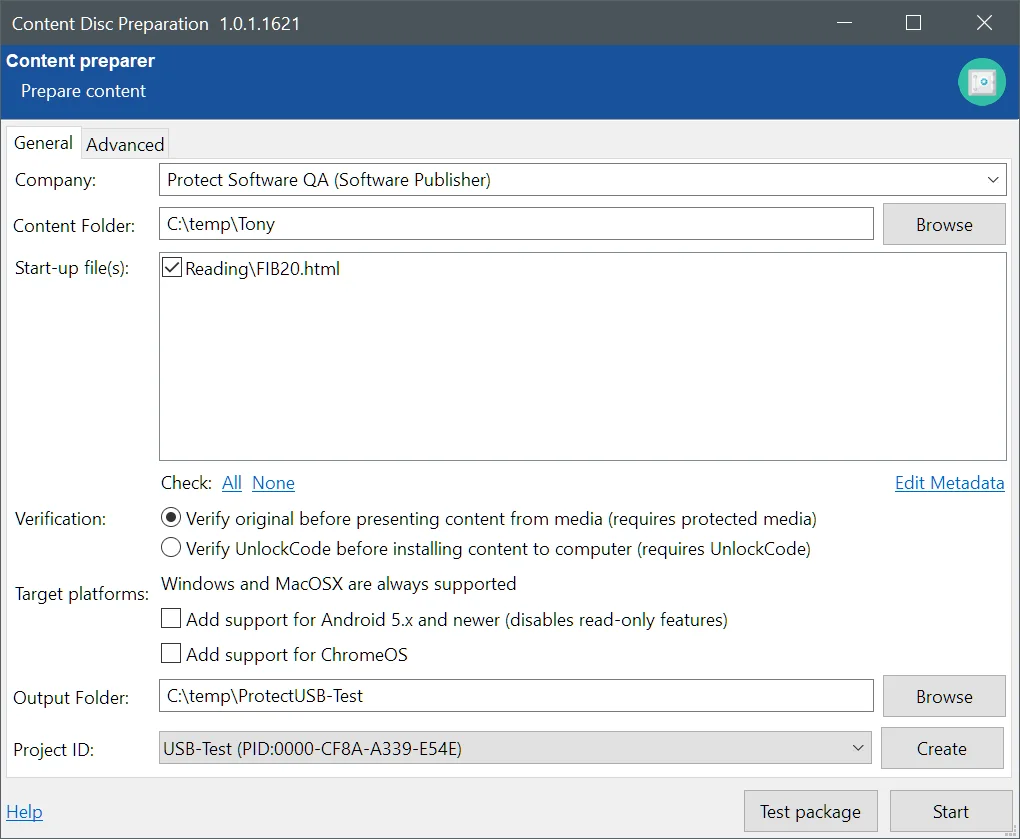
| Option | Description |
| Content Folder | The “Content Folder” is the folder with the content you want to protected and store on the USB stick. The entire content in the folder will be protected. |
| Start-up file(s) |
This section defines how the content is accessed by either specifying exactly one startup file (which will be presented at startup) or selecting multiple files (for which a table of contents startup file will be generated). As typical startup file (one file selected) you can use the following file types:
If you select multiple files, an HTML file with links to the selected files is automatically generated. If you want to have your own design, you need to create the index.html file manually, place it into the directory and select it. |
| Verification options |
The verification options define how the content is accessible: USB Stick verification With USB stick verification the content is encrypted and bound to the presence of the USB stick. This means the content is presented directly from the stick (no installation to hard disk) and it can only be accessed while the copy protected USB stick is inserted. An internet connection is not required. UnlockCode redemption With this methods the content is not bound to a particular USB stick. Instead, the usage is controlled by an UnlockCode which needs to be entered when the content is accessed and which triggers the binding of the content to a particular user account (email/password). The UnlockCode option is more flexible because it allows the installation of the content to one or more devices and does NOT require the presence of the USB stick. The UnlockCode defines on how many computers the content can be authorized as well as other limitations (e.g. expiration of the content after a certain time). UnlockCodes are created on the Protect Software web site. An internet connection is required at the time of the first access to allow validation of the UnlockCode. Once the code has been validated, no internet connection is required. |
| Output Folder | Select the destination for the packaged and encrypted content. The content of this directory will later be used to create the protected USB stick(s). |
| Product |
The Product is the element which binds the prepared content to the protected USB stick or UnlockCode. The content will only be accessible if the Product of the content matches the Product of the protected USB stick or UnlockCode. While you can use the same Product for slightly different content, you should create a new Product for separate content to make sure a stick bound to a certain content works also for other content. |
Important: If you are a replicator or duplicator, you have no drop-down box of projects nor a “Create” button but instead a text field to enter the ProjectID. This is because you can also work with projects created by 3rd parties (or yourself on the web page) and this way you can simply enter it.
On the Advanced tab you can define some advanced functions as explained below.
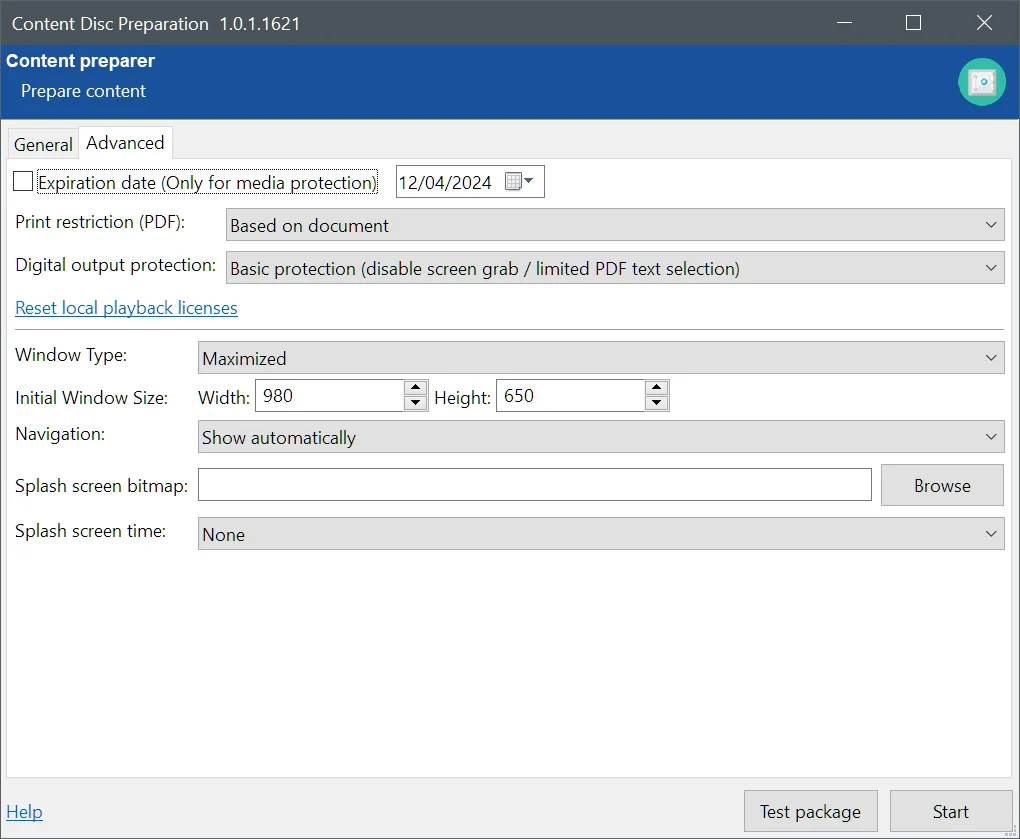
| Option | Description |
| Expiration date | The content will cease to work from the date set here, if the option is activated. This works only for media validation and not for content using UnlockCodes |
| Window Type | This setting defines the size of the window which displays the content. In “Maximized” it will use the whole screen and it “Normal” it will use the resolution defined by the Initial Window Size setting. |
| Initial Window Size | If the Window Type is set to “Normal”, the window displaying the content will have the width and height defined here. |
Before you start the process, you should use the "Test package" function to make sure your content behaves as it should. Once you click the button, th content will be build and displayed exactly the same way as it woulf from a USB stick.
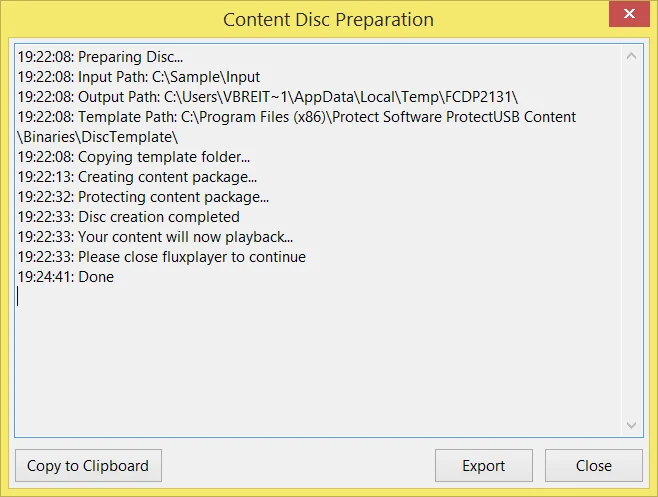
When the content is prepared and after you have closed FluxPlayer after reviewing the content, the window above is displayed.
In the Window above you can click the Export button to export the prepared content into a directory you specify. This especially makes sense if you want to edit the auto-generated (index) HTML files.
After you select “Prepare content” you get to the following window.
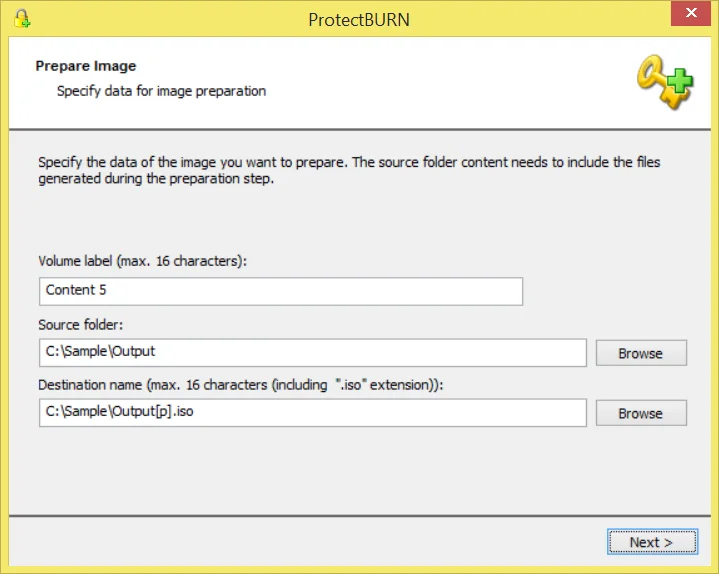
You need to enter the name for the DVD and specify the source folder and the destination ISO. In case you do it directly after the “Prepare content” step, the source and destination is already filled in for you.
Note: The resulting image file has an ISO/UDF bridge format which can be used on PCs and MacOSX computers.
This chapter describes the “Protect .ISO image” function step by step.
The following wizard will shop up.
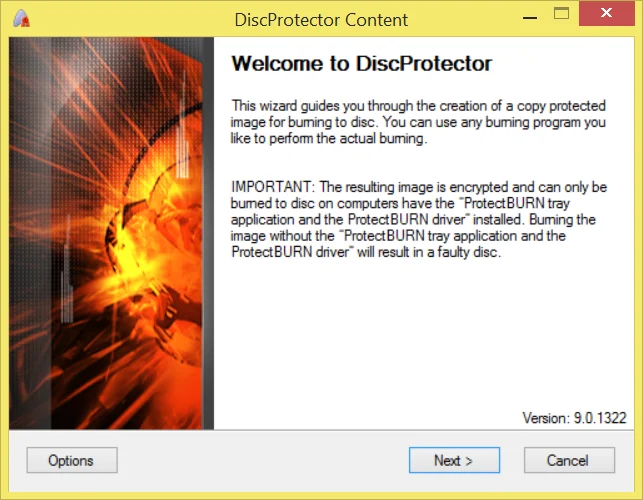
When you see the “Welcome” page, click on “Next”. If this is the first time you use this function, the option dialog will appear and you are able to enter some default settings.
You can optionally specify the paths you are using and click “OK” to continue.
Option Description
Default source path: Default path to the directory specified here when browsing for source data.
Default destination path: Default path to the directory specified here when browsing for a destination folder.
Temporary path: This path will be used to store intermediate data. Specifying a hard drive different from source and destination can speed up the processing time.
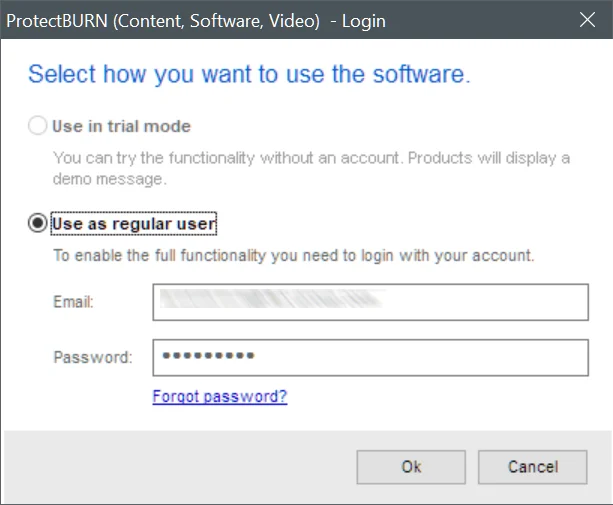
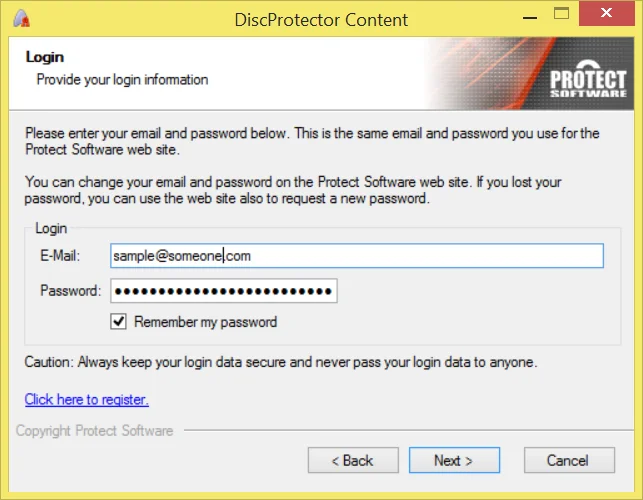
The next page shows the account data you are currently using.
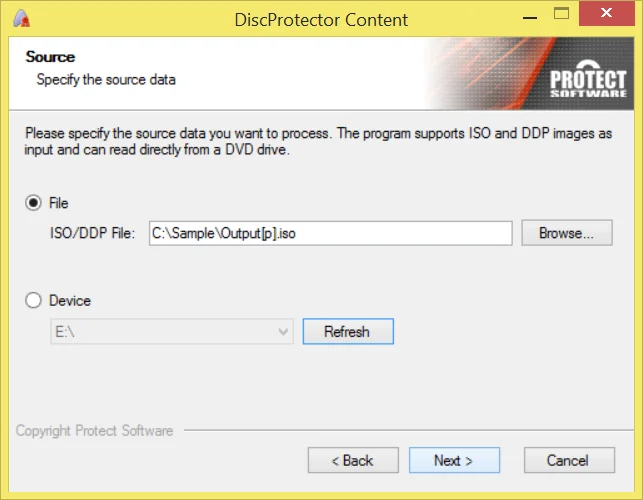
Now you need to specify the ISO image you have created earlier. If you have created the ISO image directly previous to this step, it might already be filled in and you can click “Next” to continue.
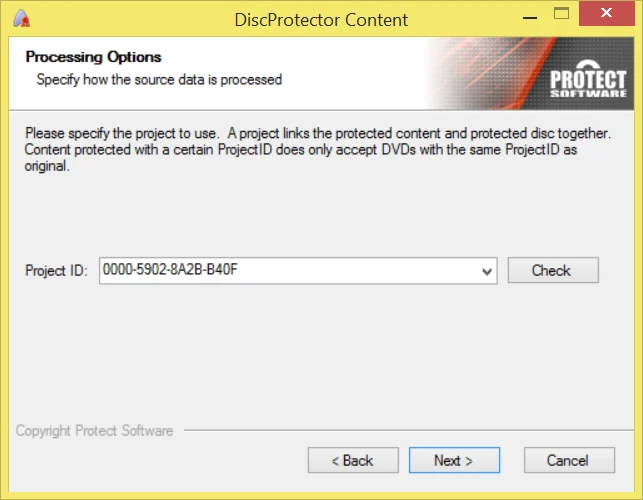
This page shows the ProjectID for the protected DVD. It must be identical to the ProjectID specified when preparing the content.
Now you need to specify the destination for the protected ISO image. If you have created the ISO image directly previous to this step, it might already be filled in and you can click “Next” to continue.
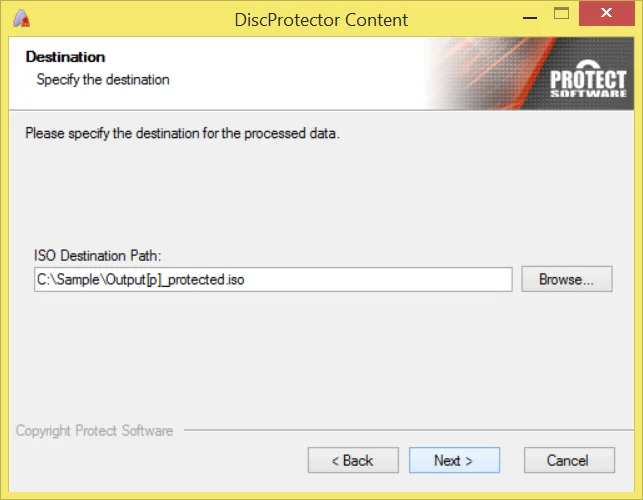
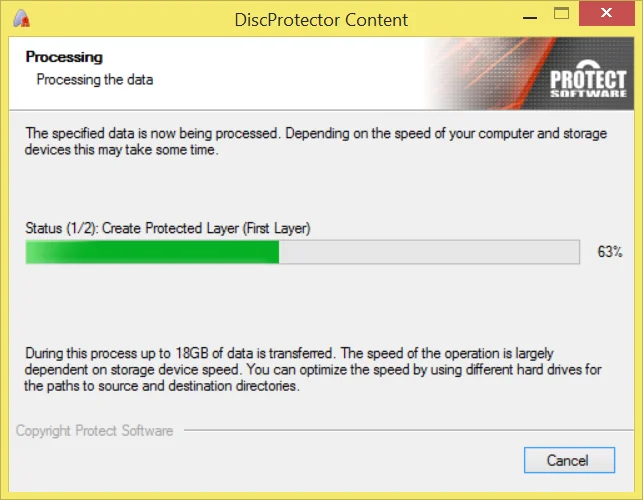
Your ISO will now be processed and the protected output ISO image is created. Depending on the speed of the hard drives/network connections this will take some time because up to 15GB of data is transferred.
Important: The protected ISO can be burned with any compatible burning Software if ProtectBURN is installed and active (which requires a reboot after installing) on the computer.
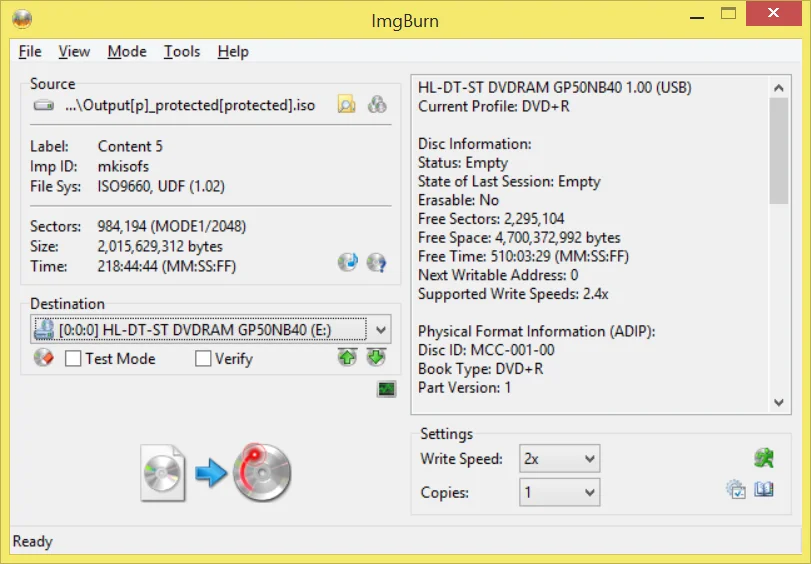
The “Burn .ISO image” function uses ImgBurn for burning of the protected .ISO image. If ImgBurn is not installed on this computer, it will request installation and guide you to a download page.
If ImgBurn is installed, you need to use the “Write image file to disc” function and specify the protected ISO image.
During burning please always note the pop-ups displayed by the ProtectBURN tray application. These pop-ups will inform you about the remaining licenses.
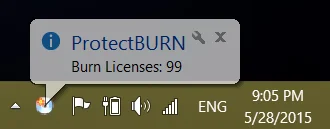
Important! If no burn licenses are left, burning is still possible, but the resulting DVD will display the warning message that this DVD is not allowed for distribution.
Following you find a list of the frequently asked questions. If this does not answer your question, please contact support@protect-software.com
I forgot my password. What can I do?
You can use the “forgot password” function of the www.protect-software.com web site.
I have purchased more burn licenses than I need on this computer. Can I transfer them to another computer?
No. Licenses are only valid on the computer on which they have been purchased.
I want to use the protected DVD as source in a burning tower. Is this possible?
No. The DVD has a copy protection and copying the DVD is not possible, especially not with keeping the protection.
I want to perform an industrial replication of a protected DVD. Can I use the protect ISO image of the protected DVD as source?
No. The protected image is encrypted and the protected DVD is copy protected.
Can I use ProtectBURN Content also for Video DVD protection?
Not with this software but you can use the ProtectBURN Video to do this.
Can I use the protected image with automated duplication devices?
Yes, as long as the data written comes from the computer on which ProtectBURN is installed.